The perfect cup of coffee is that holy grail of coffee perfection that all coffee lovers hunt for. It’s strange, while we might not have managed to produce that perfect coffee yet, we all know what that perfect coffee taste is. We can imagine it.
Baristas in coffee shops might make some fantastic coffee, but sometimes to make the absolute best coffee you need to take things into your own hands.
Every coffee drinker knows that coffee making can be tricky if you don’t know the secrets. Well, I’m going to spill the beans with you.
It’s easier than you might think to make the perfect cup of coffee. Get some measurements right, throw in some clever tweaks, and you’ll take your coffee game to a whole new level. Read on and I’ll show you how.
First Thing’s First (Key Coffee Tricks For Every Brewing Method)
Fresh Whole Beans
It makes perfect sense that great coffee needs great coffee beans. While you absolutely can make a good cup of coffee from normal supermarket coffee beans, there can still be a gamble to them; you have no clue how long they’ve been sitting there on the shelf.
The fresher the coffee beans, the taster the cup of Joe. I swear by it.
The tried and true way to ensure you’re getting yourself some fresh, high-quality, arabica coffee beans is to find a coffee roaster local to you. I’m not talking about a local Starbucks, I’m talking about small local businesses who love coffee as much as you.
Your local roaster might be a bit more expensive than your supermarket coffee beans. That is because they can’t mass produce the coffee as the big brands do. Their extra effort does pay off in flavor. If you still think their prices are a bit much, there’s still no harm in shopping around for the best supermarket beans you can get your hands on.
Grind Them Yourself
Bags of ground coffee are super easy to use, but you’re hunting for that absolutely perfect cup of coffee. Once you’ve bought those lovely fresh coffee beans from your local roaster, grind them up yourself to ensure your coffee is as fresh as possible.
While whole coffee beans do eventually go stale if you leave them, they go stale even faster once they’ve been ground up. That’s why it’s best to grind your coffee beans just before you start brewing.
What should I use to grind my coffee beans?
A burr grinder is by far the best type of coffee grinder to use. The alternative is a blade grinder.
Years ago, I was given a blade grinder as a gift. I can say it was better than stale pre-ground coffee, but once I got my hands on a burr grinder. Wow, that was a game changer.
Different brew methods work best with different grind sizes. This is because the grounds spend different amounts of time immersed in water in each method. Usually, the longer a brew method takes, the coarser you want your grind to be (and vice versa).
A burr grinder will crush your coffee beans down to a certain size until the ground bits fall through the mechanism.
A blade grinder will just randomly chop at the beans. You can’t control the grind size, and you get all kinds of differently sized ground bits (unless you blitz it down to a fine powder).
Grind the beans yourself. Use a burr grinder.
Store Your Beans
You’ve got your hands on some lovely freshly roasted coffee beans. You’ll want to store them correctly.
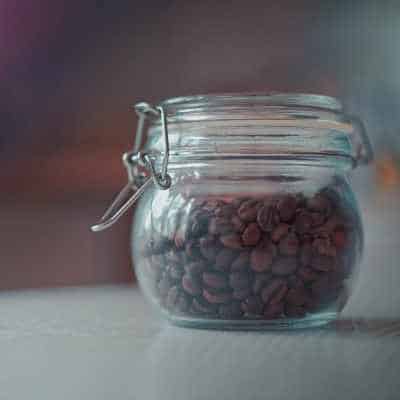
Don’t keep them in your fridge. It sounds counterintuitive but the cold moist air in your fridge will actually make your beans go off faster.
Keep them in a cool, dark, airtight container. An airtight glass or ceramic jar is perfect, and store them in a cool cupboard. Of ceramic and glass, ceramic is the slightly better choice because no daylight can get into the jar
Clean, Fresh, Tasty Water
There are really just two ingredients in coffee. Coffee beans and water.
Everyone knows great coffee beans will make great coffee. Plenty of people forget to think about using great water too.
Some people are super lucky and live in an area where the tap water is lovely. If the water from your tap doesn’t taste great, I bet it won’t make great coffee either.
The solution is an easy fix, you can use tasty bottled spring water. If you have a water filter at home, like a Britta filter or a Berkey Filter, then you’ve got the means to easily make lots of tasty water for brewing your Java.
The Perfect Water Temperature
Did you know there is a temperature range that’s perfect for brewing coffee? Too hot and you’ll extra too much of the harsh, bitter, nasty, flavors. Too cold and you won’t extract much flavor at all; it’ll taste weak and thin.
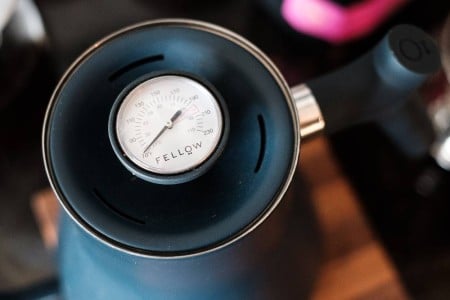
The perfect temperature to brew coffee is 195℉ to 205℉ (90°C to 96°C).
If you don’t have a thermometer, don’t worry. If you’re using a kettle, a great rule of thumb is to just wait until the water is no longer at a rolling boil, with only a very gentle simmer left to it. So, really, once you’ve boiled the kettle; just leave it for a minute.
Some coffee machines will get the temperature perfect for you. Some kettles have a thermometer built into them. Some kettles will keep the water just at the perfect temperature for you.
When it comes to getting the temperature right, it’s more often a case of either taking a good guess or having clever gadgets than standing around with a kitchen thermometer!
The Golden Ratio of Coffee (Measure It Out)
When you make coffee, you follow a recipe. Yeah, it’s only two ingredients, but you would measure out all your ingredients when following a cake recipe. Why should coffee be any different?
I know I sound mad but bear with me. Just try it.
If you measure out the amount of coffee and water you use, you will not only figure out the perfect amount for you, but you will also be able to get it right. Every. Single. Time.
It hardly takes any extra time if you have a handy set of digital scales. Just measure out your beans before you grind them and pour out your water into your coffee maker while on the scales. If you’re using the likes of a drip machine, the water tank often has a water level mark on the side of the water reservoir.
How much should I measure out?
The perfect ratio of coffee and water is called the golden ratio of coffee.
A great place to typically start out is with a 1:15 ratio. That is, 1 gram of coffee for every 15 grams (or milliliters) of water. So if you were making two cups of coffee, you might want 40grams of coffee and 600 grams of water.
The funny thing with the golden ratio is that there’s no one-size-fits-all. Everyone has their own preferred ratio, and to top it off, different coffee brew methods work better with the ratio tipped a certain way. Take espresso, for example, espresso uses a ratio closer to 1:2.
The best way to find out what ratio you like best, is to play around with it. With that said, a 1:15 ratio should be fairly close to the mark for a brewing process such as pour-over or french press.
Let It Bloom
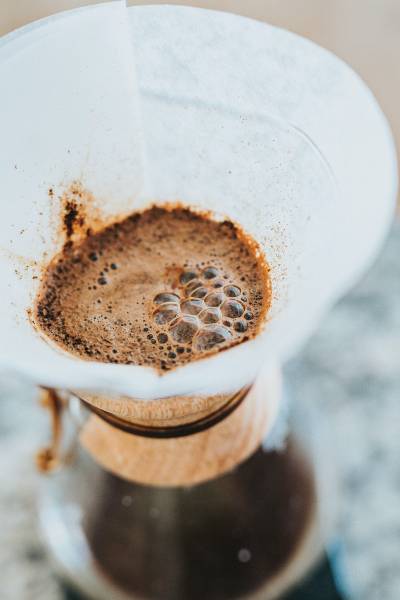
Letting coffee bloom sounds strange. It’s not a flower after all. Let me explain.
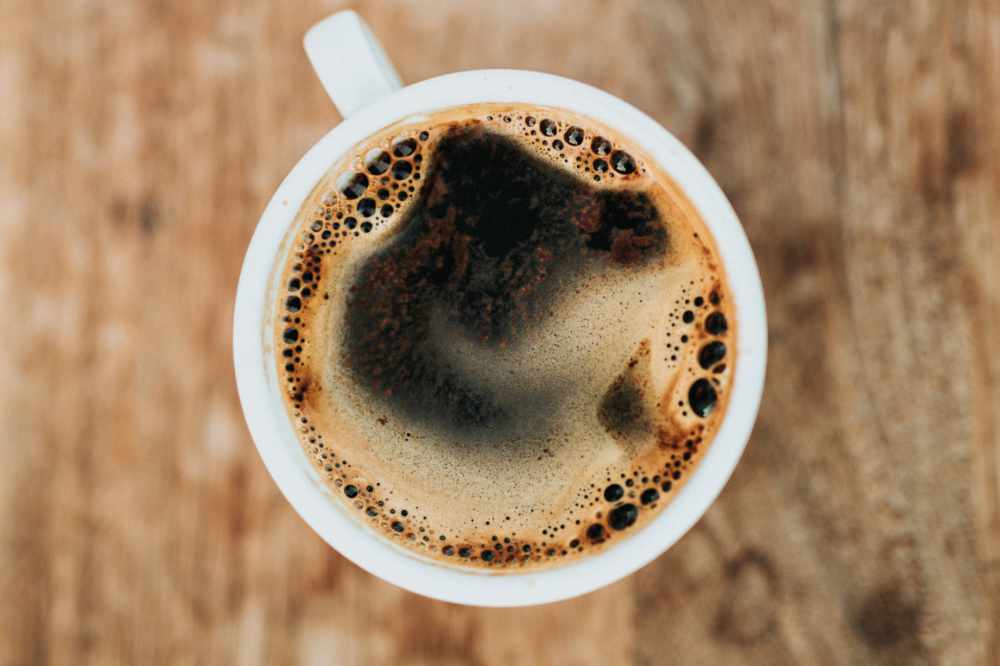
When the hot water first hits the coffee grounds, you know all those lovely looking golden-brown bubbles that appear? That’s called The Bloom.
Without getting too geeky here, those bubbles are made by CO2 escaping from the coffee grounds as they get hot and wet. That means two things. One, it’s a sure sign you’ve got some fresh beans there (good going). Two, it means it’s time to pause your brewing.
With the CO2 starting to escape your coffee grounds, that CO2 has to go somewhere. Pause your brewing and let the gas escape. Otherwise it’ll end up in your drink and your brew will taste a bit more bitter and harsh than it needs to.
So, once you see those bubbles, just give the coffee 30 seconds to a minute to stop bubbling. Make sure all the grounds are wet. Then just carry on with your brewing. An easy tip to make a real difference.
Brewing Methods (How To Nail Each One)
No two brewing methods are the same. That’s why we love them all.
Let’s take a look at each brewing method in turn.
French Press
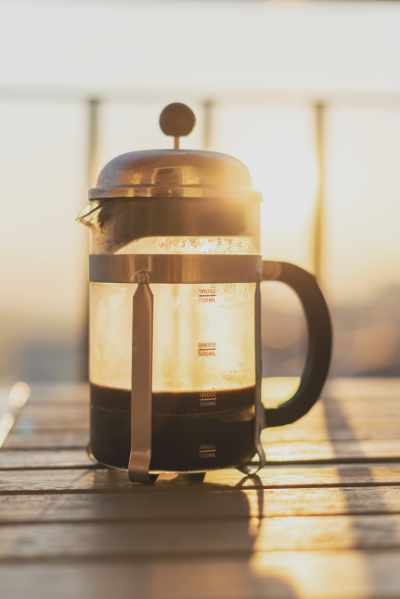
- Grind Size: Coarse. Like sea salt.
- Brew Time: 4 minutes.
Get your kettle on. Measure out your coffee beans and grind them to a coarse grind. The grounds should look similar to peppercorn chunks straight out of a pepper mill.
Sit your french press on a set of digital kitchen scales, load the coffee grounds in, and zero the scales.
Pour just enough water in to get all of the coffee grounds wet. Feel free to use a spoon to give it a little stir, just don’t leave that spoon in there on the scales. let the wet grounds “bloom”, wait until they stop bubbling; this should only take about 30 seconds to 1 minute.
Pour the remaining amount of water in, give it a little stir, and set a timer for 4 minutes.
When the 4 minutes are up, sit the lid on and gently press the plunger down. Just don’t press it all the way down, about 90% of the way down, that’ll help prevent grounds from squeezing around the filter mesh.
If you can see a few rogue grounds floating around that escaped the mesh, just leave the french press just sitting on a table top for half a minute while they settle.
Gently pour your fresh brew out into mugs and enjoy.
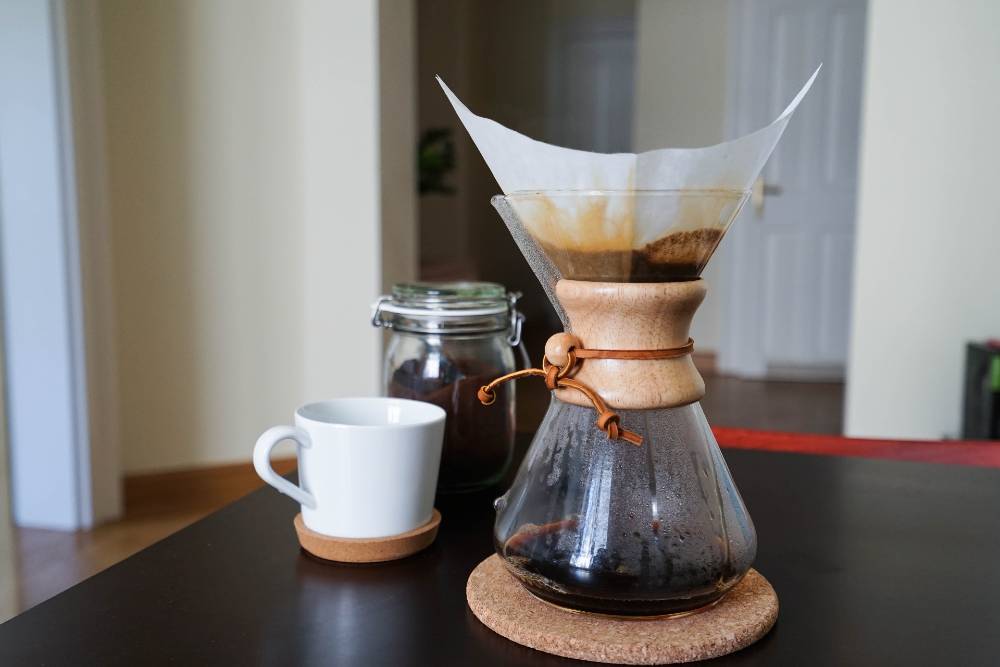
Pour-Over
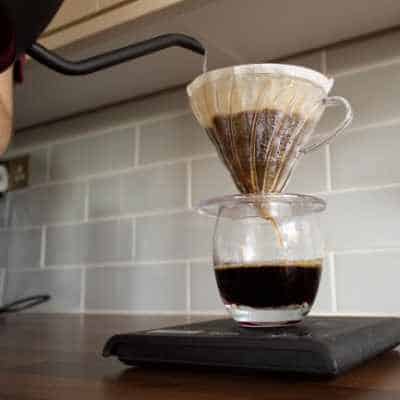
- Grind Size: Medium. Like granulated sugar.
Whether you’re using a Chemex, V60, or Kalita Wave, you’re making pour-over coffee.
Firstly, your choice of paper filter does matter here. If you’re using a brown unbleached filter paper, then you’ll want to gently run it under a tap before use. That’ll get rid of an unwanted papery taste. There’s no need to do this with white bleached paper filters, but it certainly can’t hurt either.
You can use an ordinary short-spout kettle for pour-over, but a gooseneck kettle does make a real difference. A gooseneck kettle won’t dribble, you will have lots of control over the pour. Nobody wants a scold from making coffee.
While your kettle is boiling, grind out some beans to a medium grind. Sit your pour-over gadget (be it Chemex, Bodum, or whatever) on some digital scales, stick a paper filter in, load up the ground coffee beans, and zero the scales.
Sometimes it can be tricky to make sure all of the coffee grounds get wet right at the beginning to let the ground bloom. So I have a little trick I like to do.
I’ll use a spoon to push most of the grounds to the edges, that way I can pour water onto the grounds at the bottom of the filter paper first. I’ll give them a little stir, making sure they get all good and wet, and incorporate more of the ground from the sides in while adding a little more water as the moist-grounds-clump soaks up water.
Once all of the grounds are moist, I’ll spread them out so the surface is fairly level, and begin pouring water over the grounds. You might still want to give it a little spoon-stir occasionally.
I’d be surprised if you can pour all the water in at once. You’ll need to pour a little bit of water over. Wait for it to trickle through, and pour a little more until the scales show you have poured enough.
Once all of your water has dripped through the grounds, discard your filter paper and pour your lovely fresh Java.
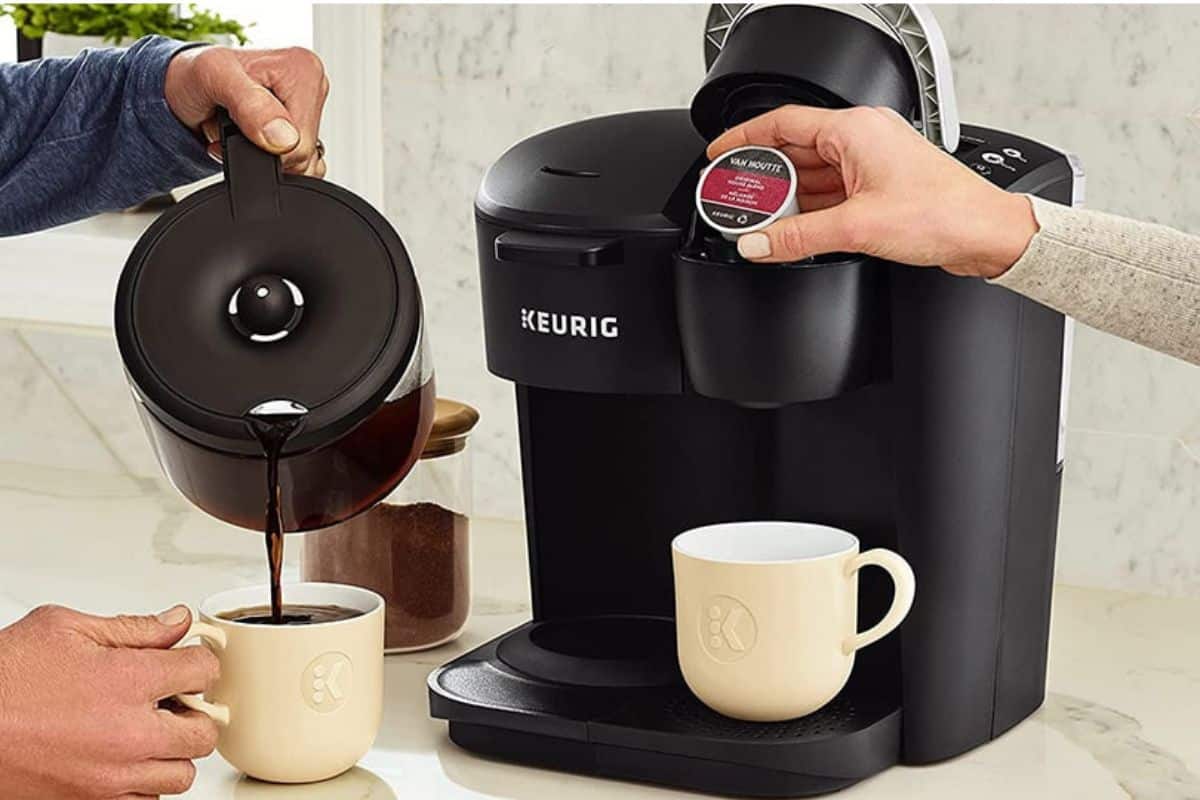
Drip Coffee Maker
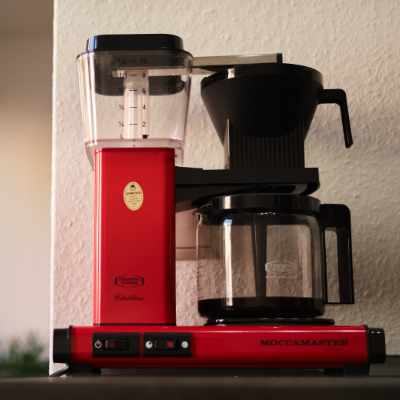
- Grind Size: Medium. Like granulated sugar.
A drip coffee maker is pretty much a machine that makes pour over for you. Some drip machines are designed to replicate pour-over coffee so closely that they are called automatic pour-over machines. When it comes to drip machines, automatic pour over machines are some of the best coffee makers.
The thing I love about drip machines is they can be so easy. Set it and forget it.
As with pour over, if you’re using brown unbleached filter papers I recommend you give them a gentle rinse under a tap first. Pop that filter paper into the filter basket.
Some drip machines have a nice easy-to-read level gauge on the side of the water reservoir, so you can just pour the perfect amount of water in, if not, it’s easy enough to weigh out some water in a jug while you weigh out the right amount of coffee beans.
You’ll want a medium grind for drip coffee. As with most things in the coffee world, there’s always an element of playing with the grind size to suit your taste perfectly.
Once the grounds and water are loaded in, make sure the carafe is seated in the correct position, and press that ON button.
Other Brewing Processes
We’ve covered more brew methods in more detail in these articles.
AeroPress
Check out our walkthrough on how to ace your AeroPress here.
Moka Pot
Check out our article on how to use a Moka Pot here.
Percolator
Check out our article on how to use a percolator here.
Cold Brew
Check out our article on how to master the patient cold brew process here.
Turkish Coffee
Check out our article on the ancient coffee brewing methods of Turkish Coffee here.
Espresso
Check out our guide on making your own expression of exquisite espresso here.
Final Thoughts
Ironing out just how to pull off that perfect cup of coffee might sounds technical and pedantic at first. Take my word for it and try it out.
Your new brew routine might be slower and clunkier at first, but once you taste the difference it makes to your coffee, you’ll never look back. Quickly it’ll become a slick coffee ritual that you pull off without giving a second thought.