It’s time to set aside the Aeropress, put down that cold brew, and switch off the espresso machine because pour-over coffee is stealing the spotlight. Pour-over is a fantastic way to brew coffee. It’s simple, satisfying, and gives you loads of control over how the coffee tastes.
It’s a great method to use at home, at work, or anywhere really as the pour-over funnel is highly portable.
As with most coffee brew methods, there are things you can do to ensure a consistently great-tasting cup of joe. To help you out, I’ve outlined this complete guide on how to make pour-over coffee. Everything you may want to have to hand and everything you need to know is in this article.
Once we cover all the important points, I’ve included a step-by-step guide you can follow to make sure your next cup of java rivals any coffee shop brew. Let’s get stuck in straight away and look at what equipment is useful to get you started with your next pour-over.
Equipment
It’s important to have the correct equipment to hand when you set out to make coffee so make sure you have all these gadgets nearby.
Pour-Over Coffee Maker
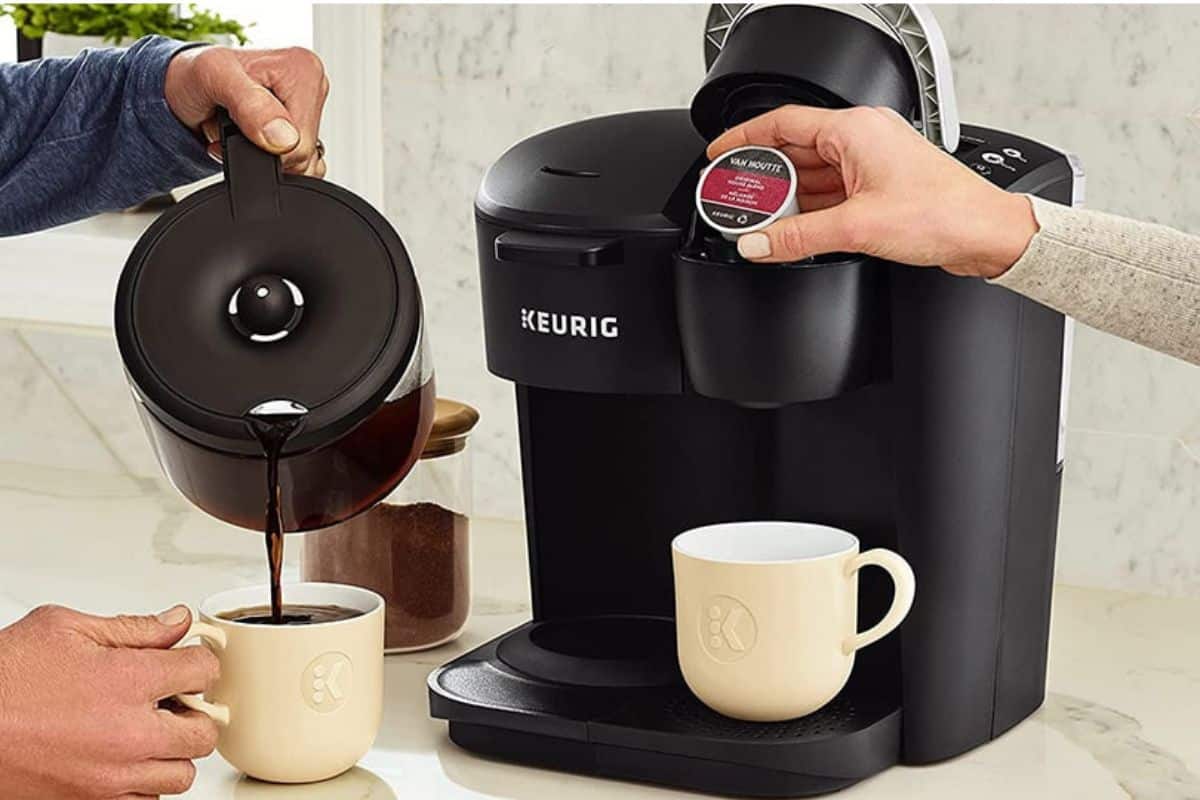
It goes without saying, the first thing you will need to make pour-over coffee is the device itself. Whether you opt for a Chemex, Hario V60 with a separate carafe, Melitta, Kalita Wave, or a Bodum doesn’t really matter. Just select the brewing method that suits you best and you’re good to get started.
Filter
The next thing you will need is a coffee filter. Most pour-over methods favor the paper filter but you can purchase mesh/metal filters if you prefer your coffee to resemble a French press type brew. The type of filter you choose will affect the grind size with metal filters requiring a coarser grind.
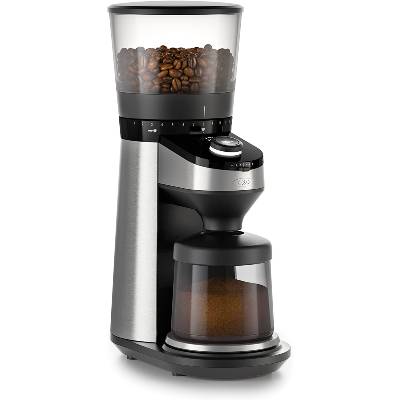
Coffee Grinder
To ensure an optimal coffee extraction so you end up with all those delicious flavors in your cup of coffee, you need to start with an even grind. This means that the coffee beans are broken down into similar size grounds rather than some larger and some smaller pieces.
A nice consistent grind is only achievable when you use a burr grinder.
Burr grinders allow you to control your grind size too.
The alternative to this is a blade grinder. These little things will just chop at the beans randomly until they can’t be chopped anymore.
Kettle
Once you have your ground coffee the next thing you’ll need is hot water. An electric kettle is the most obvious choice but stovetop options can work just as well. The way you pour water over the coffee matters.
If your kettle has a wide spout then it will pour the water very fast and cause turbulence in the coffee. This can wash it into dense clumps and stops the full flavor from reaching your coffee cup. A gooseneck kettle gives a gentle, controlled flow of water and helps you to evenly saturate all the coffee.
Thermometer
Water temperature is very important for making great coffee and the only way you can accurately assess this is to use a thermometer. Some kettles have this built-in which is very useful but if you don’t have this then any kitchen thermometer will do nicely.
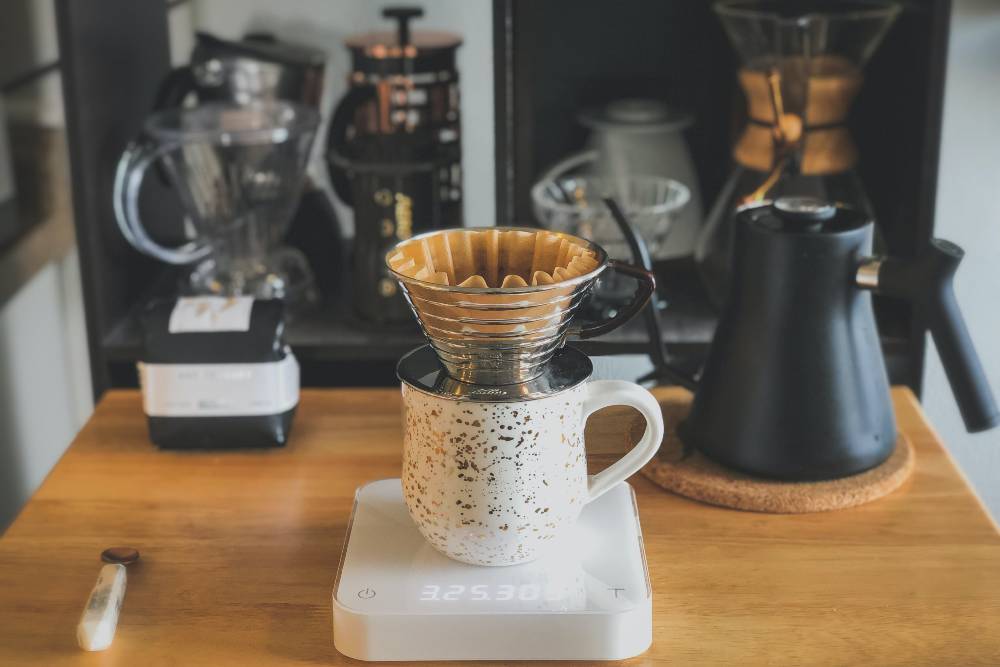
Scales
If you like good coffee with the consistency that coffee shops achieve, then you need to know how many grams of coffee you are adding per gram of water. Coffee scales will help you weigh out your ingredients accurately but if you don’t have these then digital kitchen scales will do as well. Coffee scales are essential for making espresso as they are more sensitive but for pour-over, you can easily get away with using more standard kitchen equipment.
Timer
To achieve brewing perfection you need to make sure you standardize your brew time. To help keep things consistent between brews, a timer can really assist you. This can be a simple stop-watch, kitchen timer, or you can use your phone. Some coffee scales have a built-in timer so this is very helpful.
Things To Consider Before You Brew Pour-Over
Type of Bean
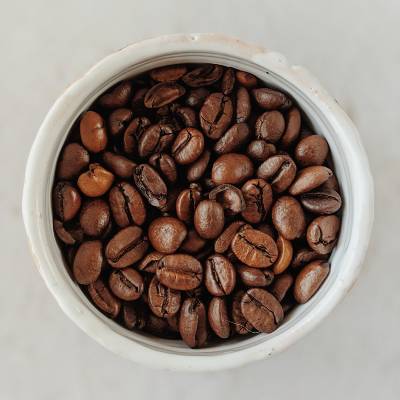
The type of coffee beans you choose does not fall into a right or wrong category. There are hundreds of different types of beans out there grown all over the world. The type of beans you choose comes down to your own taste preferences and whether they are African, Asian, or South American is something you can decide.
The roast levels again come down to taste preferences. Lighter roast beans are more acidic, higher in fruit and floral notes, and make a more delicate brew. Darker roasts are richer in oils and have more intense flavors. From burnt caramel to dark chocolate they brew a fuller-bodied cup of java and are less acidic so better for sensitive stomachs.
The only standard recommendation I will give for choosing coffee beans is to try to source them from a local roaster. The fresher the beans the better the coffee will taste!
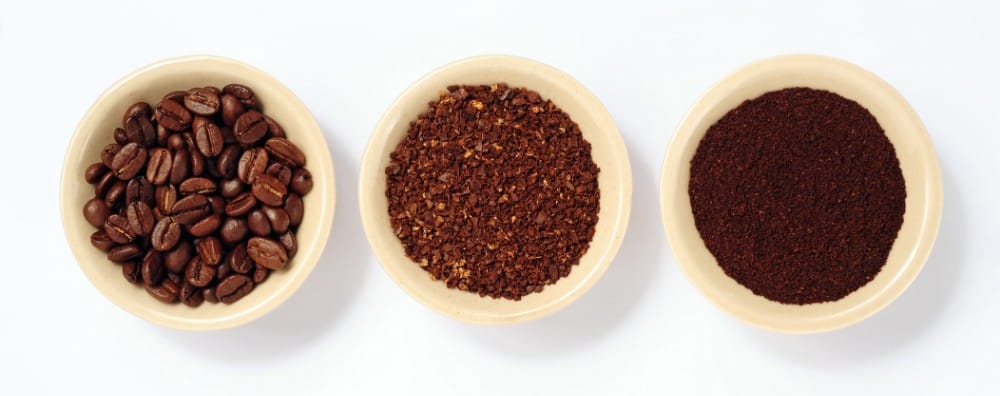
Grind Size
The first thing you need to do is ensure your coffee grinds are an appropriate size for your brew method. If using paper filters you want to grind the coffee beans to a medium-coarse setting, resembling sugar or fine sea salt. If you’re using a stainless steel filter then you can increase the coarseness.
The grind size is something you can tweak as you practice your pour-over technique. If you find the water is flowing through too quickly then a finer grind can be used. If the coffee is clogging up the filter then choose a coarser grind.
To read more on the perfect grind size for pour over brews, check out our article on exactly that here.
Water Temperature
It’s important to get the water temperature perfect if you’re looking to optimize your brewing process. Water that is too hot will burn the coffee and gives a bitter brew. If the water is too cold it will under-extract the coffee leaving it tasting thin and weak.
The ideal water temperature to brew coffee sits between 195-205F (90.5-96.1C). This temperature is best achieved using a thermometer or a coffee kettle that heat the water to this level.
If you don’t have either of these to hand then a good alternative is to boil the kettle and wait a minute before you pour the water. This allows it to cool to roughly this value.
To read more on the perfect water temperature for pour brewing coffee, check out our article on exactly that here.
Coffee:Water Ratio
The ideal ratio of coffee to water is something that you can adjust as you practice your pour-over technique. A good place to start is using a 1:15 coffee to water ratio and adjust this over time if required.
This translates to around 28g of coffee to 420g of water.
If you feel the coffee tastes too strong then reduce the amount of coffee next time to a 1:16 or 1:17 ratio. If you’re finding it too weak then try a 1:14 or 1:13 ratio and so on.
To read more on the perfect Coffee:Water ratio for Pour Over brews, check out our article on exactly that here.
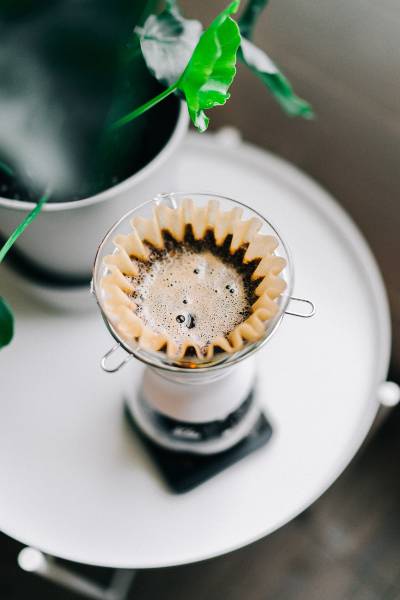
Bloom
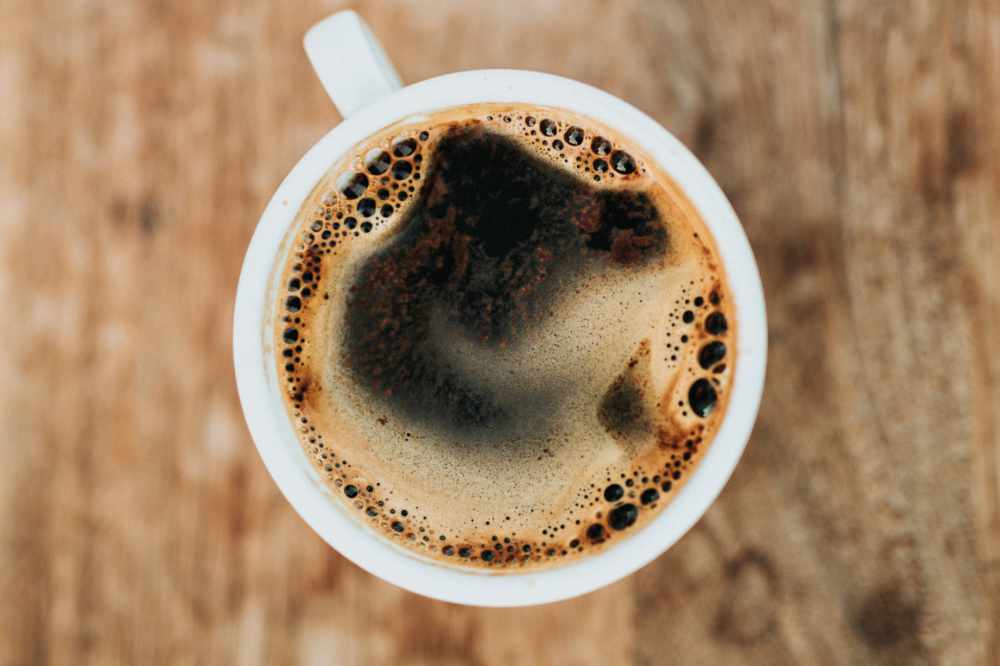
The coffee bloom process is where a small volume of hot water (roughly the same weight as the coffee) is poured over the coffee bed, just enough to dampen it. As the coffee absorbs the water it releases excess carbon dioxide gas in the form of bubbles. The ‘blooming’ step is where you give the coffee enough time to bubble and settle down again before pouring the rest of the water over it.
This step is important to carry out as the coffee will move around and create turbulence which affects the flow of water. It also results in less acid in the coffee so makes a sweeter brew.
To read more on coffee bloom and why it is important, check out our article on exactly that here.
Brew Time
The pour-over brew time can differ for loads of different reasons. The grind size, brew method, type of coffee, and filters used can all affect it. As a general guide, the total brew time will be around 2.5-3 minutes for a dark roast coffee bean and 3-4 minutes for a lighter roast. This time difference is due to the higher carbon dioxide levels in lighter roast coffee beans.
Pour-Over Step-By-Step Guide
For barista-quality pour-over, follow these steps and you’ll end up with the perfect pour-over to rival any drip coffee.
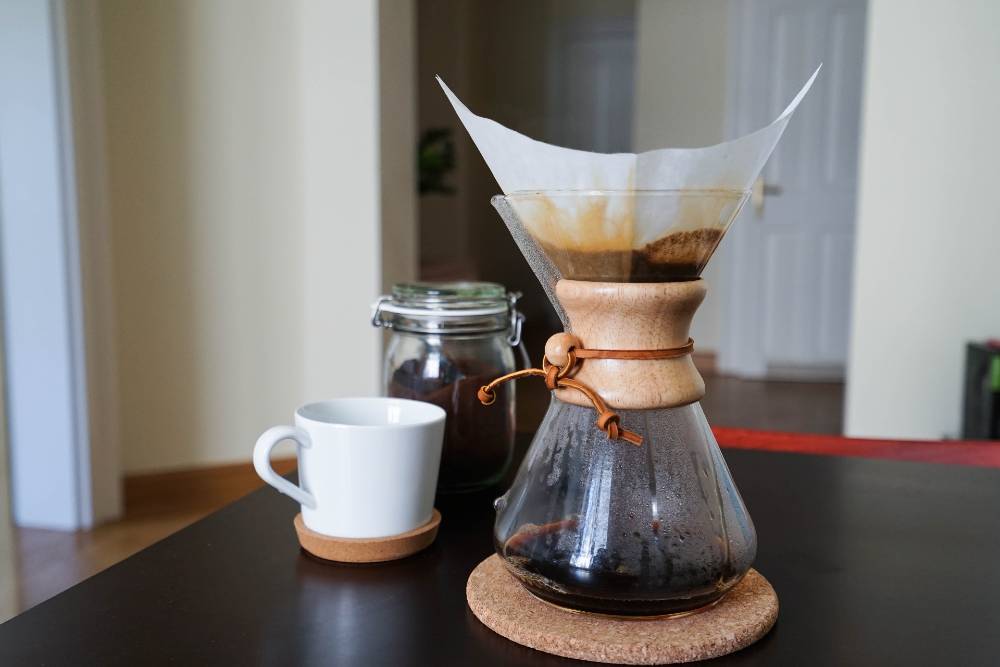
I’m using the example of a 3-cup Chemex with paper filters and a 1:15 coffee to water ratio. Feel free to adjust the amounts to suit your own preferred method.
- Weigh out 28g of fresh coffee beans and put 500ml of water on to heat up
- Grind the coffee to a medium-coarse grind
- Add the paper filter to the funnel and wet it with some of the freshly boiled water. This acts to help the paper stick to the Chemex and also pre-heats the device.
- Add the coffee to the filter
- Place the Chemex on your scales and get the timer ready. Set scales to zero.
- Ensure your water is around 195-205F
- Pour around 30g of water over the coffee and start the timer
- Wait 30-40 seconds until the blooming process has settled and the coffee stops bubbling so much
- Slowly pour 345g of water over the coffee, taking care not to overfill the funnel (you may have to add water in smaller volumes, letting it drip down until this weight is reached)
- Stir gently and wait for the coffee to drip down into the carafe (this process should take 3-4 minutes so if it’s much quicker or slower than this then adjust grind settings next time)
- Discard the coffee and filter
- Serve coffee and enjoy!
Take-Home
Pour-over coffee is one of the most delicious and customizable ways to brew coffee. If done correctly it can really elevate your coffee game to the next level and can become a coffee routine that you look forwards to. In the end, the most important thing is that you enjoy the coffee you’re brewing so feel free to experiment and adjust until you’re completely content. Best of luck with your next pour-over brew!
Related Reading
What Is Coffee Bloom And Why Is It Important?
Best Coffee Ratio for Pour Over Brews