AeroPress inc. (formally Aerobie inc.) is a sensation in the coffee-making industry. The Aeropress is a unique and intriguing device that looks like it should be more at home in a lab than in a coffee shop.
Don’t let the unique design put you off as the AeroPress is a really fantastic tool as long as you know how to use it. It makes a bold and sweet cup of coffee that’s low in acidity and bursting with flavor.
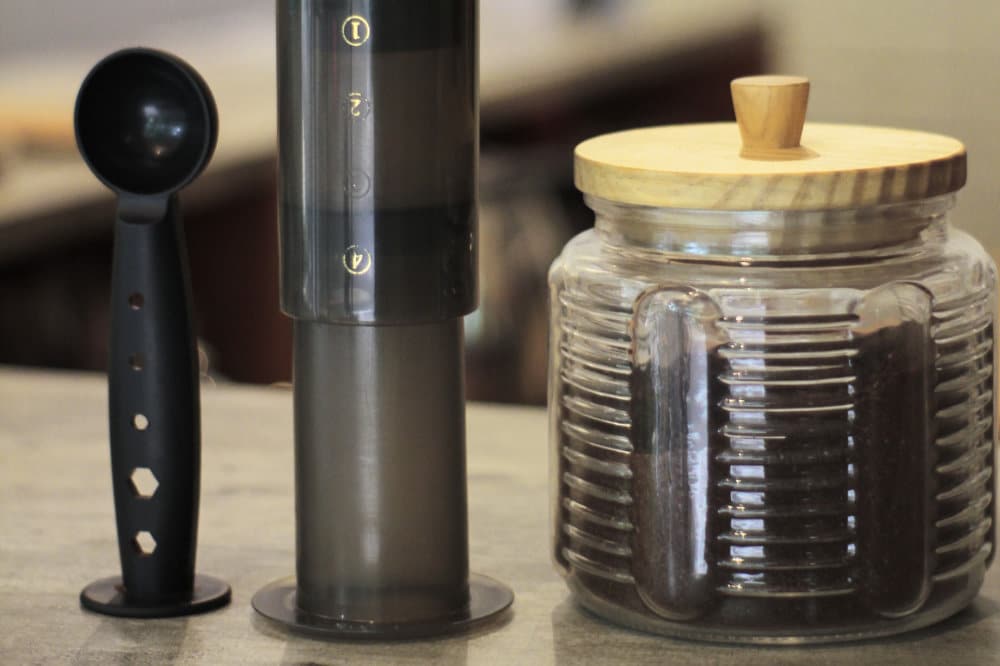
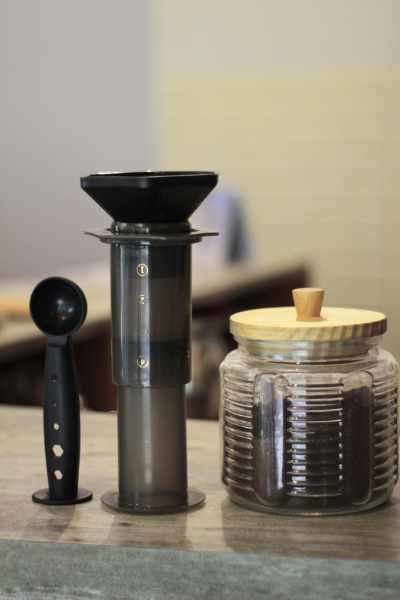
The device itself comes with various extra pieces to help get you started with brewing your first cup of java. One of these is a scoop to measure out the beans.
A really common question that a lot of people ask is, what is the Aeropress scoop size?
The scoop that comes with your AeroPress or AeroPress Go is roughly 2.5 tablespoons or 11.5 grams when the scoop is level. A rounded scoop is closer to 3 tablespoons of coffee or 14g.
Now let’s dive deeper and look at all the parts of the AeroPress, how you use the device and why it’s such a good choice for brewing coffee.
What is an AeroPress?
The Aeropress is a small, lightweight, coffee brewer that uses immersion and pressure to brew coffee. It’s shaped a bit like a large syringe with a plunger that you press to finish brewing your coffee into your mug or cup.
An Aeropress coffee maker is easy to use and very compact so is the perfect brew method for small kitchens as well as making coffee on the go. You can buy the standard model or a travel option that includes a filter storage container and mug with a lid as well.
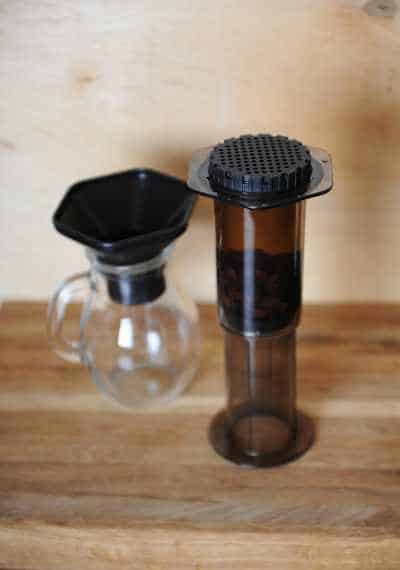
The Aeropress is divided into three main parts. There’s the plunger, the brewing chamber, and the filter cap. It does need a special coffee filter to ensure ground coffee doesn’t escape into your cup and these come in the form of paper filters or you can buy a special reusable metal filter.
What’s Included?
When you buy an Aeropress it comes with various pieces to help get you started. The standard model comes with 350 Aeropress filters, a funnel to help add your coffee, a stirrer, and a coffee scoop.
The Aeropress Go is optimized for coffee brewing on the go so is perfect for hiking, camping, use on holiday, or even at work. This option comes with the standard 350 filters, a stirrer, and a scoop but it also has a storage container for your filters, a filter cap, and a filter holder.
What Else is Needed?
Although the device comes with all these extra bits and pieces there are still a few basics plus a few things you’ll need to really optimize your Aeropress brewing technique.
You will need a kettle or a way to make hot water as there’s no heating element in this coffee maker. Brewing delicious coffee requires the water temperature to be between 195-205F so a kitchen thermometer or kettle with a built-in thermometer is a useful addition.
A gooseneck kettle gives you complete control over the pour and allows you to evenly soak the coffee. This is the best option for ease of use when it comes to the Aeropress.
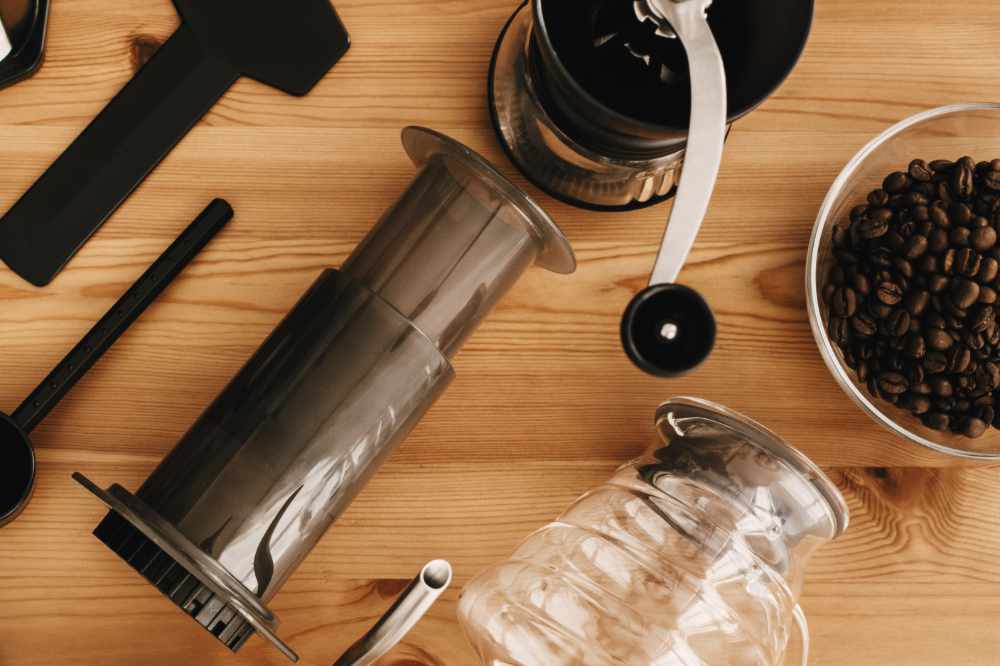
Alongside this, you’ll need a good quality burr grinder to ensure your coffee beans are an even grind size.
Finally, a good addition is a set of coffee scales or sensitive, digital kitchen scales so you can ensure the coffee to water ratio is just right.
Aeropress Scoop Size
The Aeropress scoop makes measuring out your coffee a simple affair but it does have its own issues. One level scoop of coffee will hold 2.5 tablespoons or around 11.5 grams of coffee. A rounded scoop holds 3 tablespoons or 14 grams of coffee.
The great thing about using a scoop to measure your coffee is that it’s quick and easy to do. The downsides are the amount of coffee used each time can vary a lot. Inconsistencies arise between each batch and you can end up with the coffee varying by a good few grams each time. Enough to make a difference.
There’s also an issue if you switch coffee type or choose a finer grind as you can pack a lot more weight of coffee into the scoop compared with a coarser grind. These small differences can lead to noticeable inconsistencies in taste between each cup of coffee.
If you want your coffee brewing to really remain consistent then the best way to measure out your coffee is by using a set of digital scales that are sensitive to a least a gram but ideally, 0.1 of a gram.
Aeropress Brew Guide
There are a couple of different methods for brewing coffee with an Aeropress. The classic method is the way described by the manufacturers and is good for beginners whilst you get used to handling the device. The Inverted brewing process is the preferred method by most baristas and is the chosen method for most contestants in the Aeropress championships.
Here’s how to brew coffee with your Aeropress.
Classic Method
This method is easy and simple to do but does result in a portion of coffee dripping down into your mug before the brew time is complete. The weak, under-extracted portion can water down the coffee and this is why this method is often avoided.
Start with a sturdy mug placed on a level surface and get your water heating up. Don’t use water just off the boil but let it cool for 1-2 minutes so it’s 195-205F or use a thermometer to check this.
Place your filter in the cap and screw this onto the main Aeropress chamber. Using the funnel, add your coffee to the device. You want to grind coffee to a medium-fine grind so that’s a little finer than pour-over or drip coffee but not as fine as you need for an espresso maker.
You want to use around a 1:15 ratio of coffee to water so that’s 1g of coffee for 15ml of water. It’s fine to adjust this ratio to suit your taste preferences if you find the coffee too strong or too weak.
One rounded scoop is 14g of coffee so this will take 210ml of hot water.
Pour just enough water over the coffee to soak it and start a timer. Let this sit for 30 seconds. This allows the coffee to bloom so it lets off excess carbon dioxide gas.
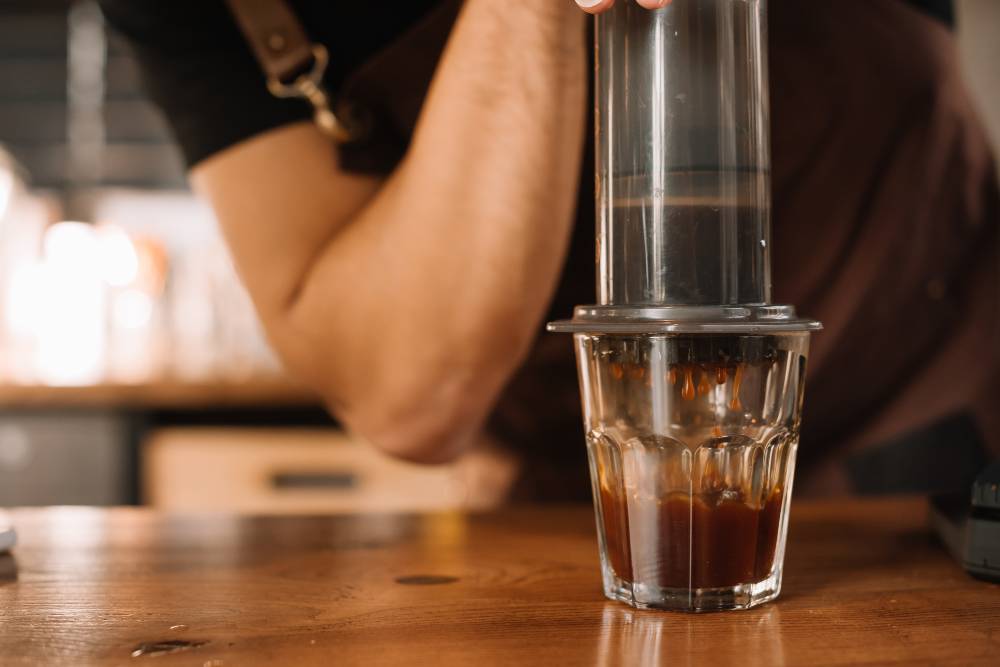
Pour the rest of the water over the coffee and use the stirrer to ensure it’s all submerged. Let the timer reach 1 minute 45 seconds and secure the plunger at the top of the device.
Press down firmly and with even pressure and stop when you hear a hissing sound.
The total brew time will be around 2 minutes so is a very quick and easy way to make rich and bold coffee.
Inverted Method
The inverted method is very similar to the classic method but the whole thing is flipped upside down. You start by balancing the brewing chamber fixed to the plunger upside down and then add your coffee and hot water.
You will need to soak the paper filter so that it stays put in the cap before you fix this in place. Once the steep time is up, place the mug upside down on top of the device and flip the whole thing over. This step is where a bit of practice really helps as there is a minor risk of spilling and scalding yourself if the parts aren’t secure.
Press the plunger and stop at the hissing sound.
All the timings, ratios, and brew temperature are the same for both methods, it’s just the routine that differs.
This method allows a full immersion brewing technique like french press or cold brew and gives a bold and rich cup of coffee that’s low in acidity.
Why Choose an Aeropress
The Aeropress is compact, portable, and lightweight so perfect for brewing coffee in any setting. It’s inexpensive to buy and lasts 10+ years. The paper filters will break down in the compost as do coffee grounds so is a low waste coffee brewing option.
It makes a really distinctive coffee that’s bold like an espresso, rich like a french press but smooth like a pour-over. You can use any kind of coffee you enjoy best with your Aeropress to keep the taste just as you like it.
The Aeropress comes with all the essential components you need to brew great coffee and the extra equipment you can use with it simply amplifies your coffee experience. It’s a simple yet versatile brewer and the perfect choice for any coffee lover.
Other Uses for the Aeropress Scoop
Even if you opt for kitchen scales to weigh out your coffee beans, the Aeropress scoop is really handy for measuring the beans out of the bag. It can be used in this manner for other coffee brewing methods such as french press, pour-over, or drip coffee and is a really good size for this.
It’s a handy scoop otherwise for many kitchen tasks. Things like scooping out baking ingredients, cereal, loose leaf tea, or hot chocolate.
Final Thoughts
The Aeropress scoop is a useful tool for brewing coffee but shouldn’t be relied on due to the inconsistencies between batches. A better method of measuring coffee is always a digital scale but the scoop comes in handy for transferring the beans here. Whichever way you enjoy brewing your coffee I hope it’s packed with flavor and rich aromas that keep you satisfied all day long.